Rename an Amazon Lightsail instance
Amazon Lightsail is a perfect solution for a newbies to cloud computing like me. It offers a very simplified interface and overall approach into creation and management of fully featured VPSes (Virtual Private Servers) without the overhead and hassle of using more complex and more professional solutions like Amazon EC2.
The most important part of its greatness, next to simplicity, is pricing. The smallest possible option (just a virtual server with:
- 512 MB memory and 1 core processor
- 20 GB SSD disk and 1 TB of outbound traffic per month
which is far enough to host a simple-to-middle WordPress site will cost you 3.5 USD per month only. One static IP (with the possibility of using your own domain thus) is added free of charge.
You will be billed more only if your site has enough interest to go beyond that 1 TB outgoing traffic or if you decide that you need more computing power. Other than that — just a plain three and a half buck per month.
However, there’s a little glitch when you create your instance with an incorrect or misleading name, because the process of renaming Amazon Lightsail instance includes a few steps and some downtime on your website.
Snapshot
To rename existing Amazon Lightsail instance follow these steps:
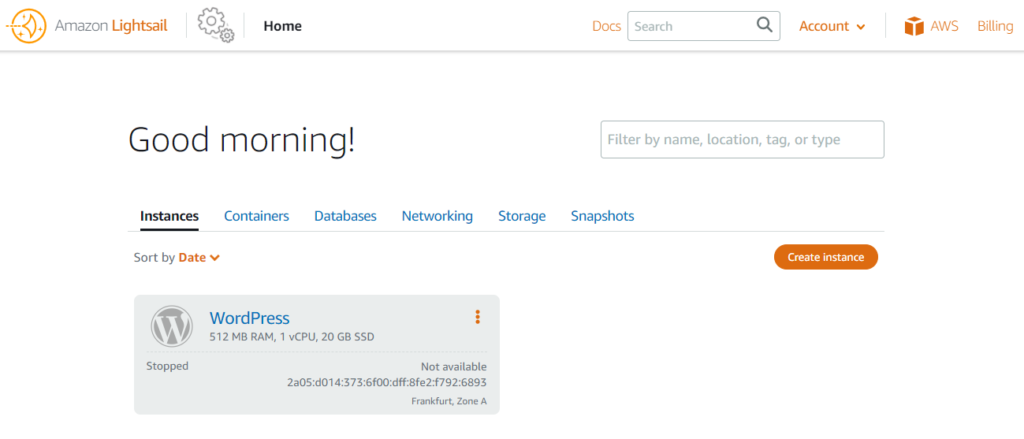
- Go to Instances and click your instance name or pick Manage from three-dot menu
- Click Stop button and confirm that you want to stop your instance
- Go to Snapshots tab and click + Create snapshot. Do not change proposed name! Wait approx. 1-2 minutes
- Go back to home and to Snapshots tab
- Click > next to 1 snapshot instance to reveal three-dot menu and select Create new instance out of it
- Review region and instance plan just as you would do when creating bare new instance.
- Scroll down to Identify your instance section
- Give your new instance a correct name (i.e. the one you want to rename your existing instance to)
- Go back to Instances tab again and wait when your instance is up and running
- Go to Networking tab and reattach existing IP address to your newly created instance
- Open main screen of your instance again (Connect tab) and click Start
You’re done. The entire process should not take more than three minutes and this is an expected downtime window for your website.
You could, in theory, do everything on a running instance, to reduce downtime just to the moment of re-attaching static IP address to a new instance. But that would be pointless. Because you would loose all the data changes that happened (as an effect of people using your site) between taking an snapshot and attaching static IP to a new instance (that is between points 3-10).
Cleanup
After you done with the above and you confirm that your website is still up and running under renamed instance name there’s only cleaning part that is left:
- Go to Instances and delete old instance (i.e. the one with an incorrect name) using three-dot menu
- Go to Snapshots and delete snapshot as well
Removing no longer needed resources is to let you not encore unnecessary monthly costs.
Keep in mind that every Amazon resource in your account must have an unique name. This is per account not per resource type. That’s why I underlined in the first list that you should not rename default snapshot name into something else. Renaming it to the actual name that you want to have for your new instance will actually prevent you from naming it lake that. Both snapshots, instances and all other resources must have an unique names all together.
