Developing for Raspberry Pi with Ultibo
Building apps that will be run on Raspberry Pi will require you in most scenarios to:
- Develop a regular Linux app
- Optimised to use hardware and computing power of Raspberry Pi
- Run it in Raspbian OS or any other Linux distribution of your choice
If you:
- Can’t or don’t want to base your solution on Linux
- Need to have nearly no limits and full fexibility
- Want to learn something really cool
Then you need to get your hands dirty, forget about Linux and start thinking about Ultibo.
What the heck is this? Well… to cite its creators (emphasis and shortening mine):
Ultibo is a complete embedded development environment written specifically for creating applications with small single board computers. It uses many concepts from general operating system design and even borrows information from Linux, but Ultibo is not based on anything else.
Yes, it is what it sounds! No Linux, no console (unless you develop one!), no distro installation. Free Pascal (other languages also partially supported), Lazarus IDE (on any platform), and Raspberry Pi as a target (other platforms also partially covered).
And they’ve told us that Delphi and Pascal programming is long gone and forgotten… Ha! :)
Contents
Behold… Ultibo!
Again… let me start with a cite:
Imagine if you could have the simplicity and freedom of Arduino with the power and features of a Raspberry Pi. With the ease of a microcontroller and the flexibility of a real computer, Ultibo gives you a platform for creating anything without the limitations of a traditional operating system

Yes, it is what it sounds! No Linux, no console (unless you develop one!), no distro installation. Only:
- Pure Free Pascal language
- Developed in Lazarus IDE (on any platform)
- That gives you a full-featured RaspberryPi disk image at output
- And all that you need is to put it on your microSD card and power-on your RPi
Unfortunately, textual interface only for right now! Ultibo doesn’t currently have a windowing interface. You have access to a full 32 bits per pixel frame buffer so graphics is totally possible, but right now you have to do it the hard way (for example using OpenVG).
For many, willing to write a consoler-like appliaction, but as small as possible, this is not a problem. For other — this could be a huge disadvantage.
The power of the demo
A picture worth thousand words? Then let’s take a look at an introduction video. Give yourself a five minutes break…
If you want to get your hands on it then simply:
- Format any SD card to FAT file system
- Copy entire contents found here into that card
- Put your card into Raspberry Pi and power it up
That is all! That is really all that I had to do to get:
- A bootable, working embed system that my RPi is able to boot from
- Textual interface able to display various texts in many different forms through HDMI output
- USB keyboard and mouse support (though mouse must be coded separately, see below*)
- File system support able to read and write folder and files and browse them
- System and hardware reader giving me info about temperature, processors count and speed and free memory
- Full GPIO support, allowing to set and read values from each PIN (blinking LED in the demo)
- Full USB-connected devices support that allows you to read data from USB ports, react on events etc.
- Date time and many more.
* Since Ultibo doesn’t support graphical interfaces there isn’t out-of-the box support for mouse. But you have full access to USB-attached devices data, so should be able to implement your very own mouse support in textual interface, if you need it.
In addition to that I also got full TELNET support:

And full HTTP server out-of-the-box:
And all of the above:
- Occupying… only 13,6 MB of storage out of my 14,3 GB SD card
- Using 113 MB of RAM out of 1 GB in my RPi 3B+
- Consuming… 0,4% computing power of one of cores of my quad-core processor
And all of this programmed in an easy-to-learn Pascal instead of dully C or assembler! I would say that I am not amazed… I am totally wasted. The IoT world has a new meaning.
If you still need more high-level (business-like) information then FAQ page seems to be a good direction.
What’s under the hood?
Erh… Pascal?
This is a first-impression like article. I actually did nothing in Ultibo. But, still, this sounds so promising, that I couldn’t resist on telling you about this right away. Mostly because I spent over 10 years coding in Delphi / Pascal and I thought that these are lost years that will never come back. And that the knowledge gained during that period is simply a wasted time. Well… seems that not anymore.
Looking at documentation (details below) it looks really promising:
- An access to nearly every element, object and aspect of Raspberry Pi in an easy to master Free Pascal
- Direct interaction with low level hardware of RPi without need to know assembler or C
- Ability to develop actually entire RPi operating system under Windows (Lazarus)
- Solution ready to use, producing RPi-enabled disk images
- And many many more.
Sounds like a dream? For sure worth trying.
Can it do…
The list of most important (but surely not all) features includes:
- full Internet communication support, including IP, TCP and UDP networking
- text or graphics output including OpenGL ES with hardware acceleration
- threading, multi CPU support and hardware exception handling
- reading and writing files, FAT, NTFS and CDFS filesystems
- USB with drivers for many common devices
- keyboard and mouse input and more…
What does it support?
Ultibo natively supports every Raspberry Pi board + QEMU emulator:
- Low-cost SoC boards like Raspberry Pi A/B/A+/B+/Zero/ZeroW/CM1
- Full-featured micro-computers including: Raspberry Pi 2B/3B/CM3/3B+/3A+
- High-end 4th generation RPis like Raspberry Pi 4B/400/CM4
- QEMU Versatile PB
If you click any of above links, it will lead you to Ultibo’s Wiki with current status for each peripheral.
For example (when it comes to a communication), WiFi and Bluetooth currently (July 2021):
- Supported for Zero W, 3A, 3B, 3B+ and CM3 only
- For A, B, A+, B+, CM1, Zero, 2B, 4B, 400 and CM4 it is only planned.
LAN is supported for:
- B and B+ only in 1st and 2nd generation of RPi
- entire 2B/3B/CM3/3B+/3A+ family and
- entire 4B/400/CM4 family
For others, again, planned (or not available at all due to hardware limitations).
In addition to on-board peripheral, Ultibo of course supports also many, many externals, including:
- a various USB devices
- devices using SPI port
- devices connected to I2C port
- some LCD and touch controller
- some Adafuit and generic TFT and LCD displays
- some official accessories like camera, touch display and HAT sense
Again, click above links for details.
Developing with Ultibo
IDE
Ultibo comes with Integrated Development Environment:
- A modified version of Lazarus IDE
- Available pre-configured for many platforms
- With a huge number of example projects for most platforms
- Producing files ready to be copied to microSD card that boots RPi immediately
Resources
In my opinion, you should start here and then read some about Ultibo core itself.
Some other resources to take a look at:
- A good startup:
- Introductory video tutorials: https://ultibo.org/wiki/Video_Tutorials
- Large pile of really useful text resources: https://ultibo.org/wiki/Resources
- Developers bible:
- Unit reference: https://ultibo.org/wiki/Unit_Reference
- Environment variables: https://ultibo.org/wiki/Environment_Variables
Ultibo itself is oriented toward Raspberry Pi-family platform. But, it uses Free Pascal and Lazarus. You can read here about multi-plaform programming, but be advised that this is not a part of Ultibo project.
Ultibo means Raspberry Pi!
My projects
The very first project
Since I haven’t seriously coded in Delphi / Free Pascal for past 10+ years, so I wanted to start from an example project. I wanted to see, if this is really that simple like they’re promising.
It is!
What I did was (step-by-step):
- Start installed Lazarus IDE (Ultibo Edition)
- Pick Tools → Example Projects
- Select Examples → 12-WebServer → RPi3 project
- Press Shift + F9
- Go to c:\Ultibo\Core\examples\12-WebServer\RPi3\ folder
- Copy WebServer.elf and kernel7.img files to empty SD card
- Go to c:\Ultibo\Core\firmware\RPi3\ folder
- Copy all 12 files found there to no longer empty SD card
- Put that card into my Raspberry Pi 3B+ and power it up
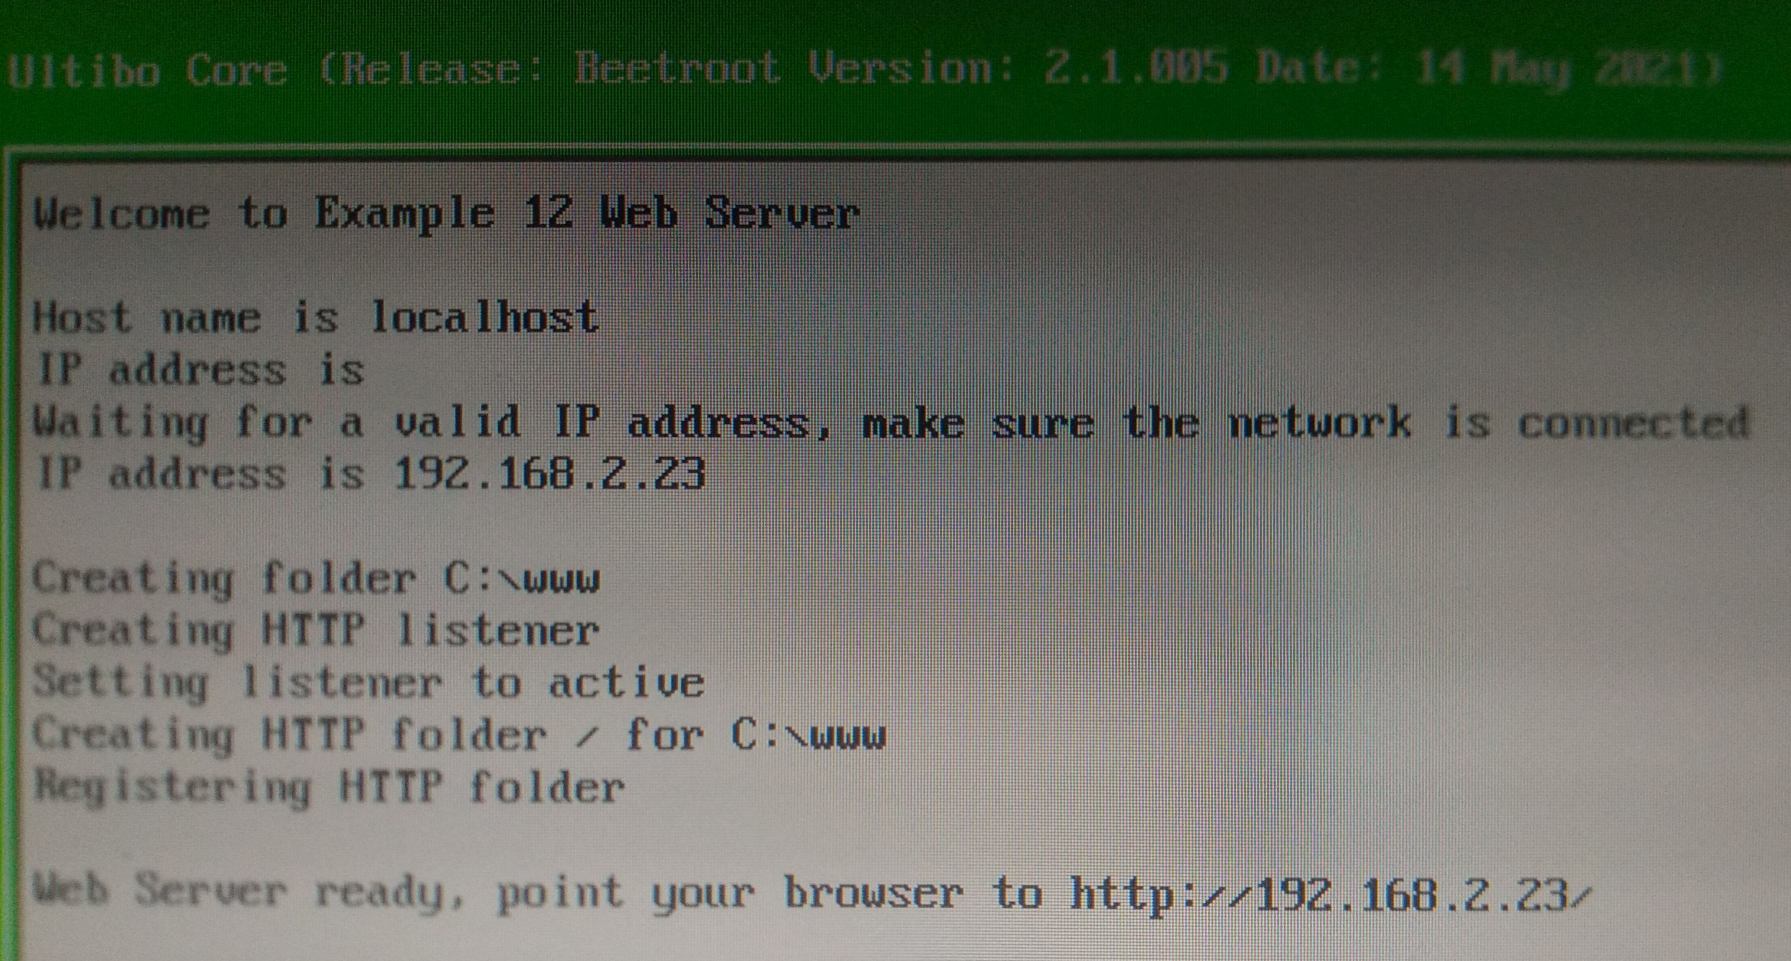
And… that was all! Three seconds later I saw this at my HDMI-attached screen:
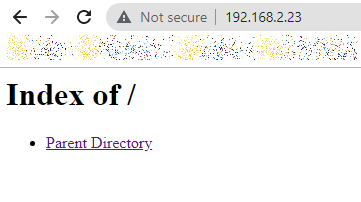
And when I did what I was instructed to do, I saw in my browser this:

A totally minimalist, yet working HTTP server in… 67 lines of code and 16.3 MB of disk image!
Pushing it harder to the bottom limits!
Well, it quickly turned out that I can safely get rid of:
- start_cd.elf, start_db.elf and start_x.elf
- and corresponding fixup_cd.dat, fixup_db.dat and fixup_x.dat firmware files
as not needed for Raspberry Pi 3B+. I saved next 8.89 MB on this.
Ultimately I landed with:
      256 armstub32-rpi3.bin
   52˙456 bootcode.bin
    1˙122 config.txt
    7˙313 fixup.dat
1˙966˙472 kernel7.img
    1˙594 LICENCE.broadcom
2˙955˙936 start.elf
2˙806˙917 WebServer.elf
And so I have a web server that has:
- 67 lines of code
- 8 files in total
- 7.50 MB of disk image
And it works! I am wasted! :>
My very own first Ultibo project
I started my project with Project → New Project …. and selected Raspberry Pi 3B/3B+/3A Application.
I wrote following code:
program project1;

{$mode objfpc}{$H+}

uses
  RaspberryPi3,
  GlobalConfig,
  GlobalConst,
  GlobalTypes,
  Platform,
  Threads,
  SysUtils,
  Classes,
  Console,
  Ultibo;

var
 WindowHandle:TWindowHandle;

begin
  {Create window handle}
  WindowHandle := ConsoleWindowCreate(ConsoleDeviceGetDefault, CONSOLE_POSITION_FULL, true);

  {Output the message}
  ConsoleWindowWriteLn(WindowHandle, 'Hello World!');
  ConsoleWindowWriteLn(WindowHandle, '');
end.
I saved the project to c:\Trash\One\ and build it with Shift + F9.
Next steps were very much similar as in previous chapter:
- Go to c:\Trash\One\ folder
- Copy project1.elf and kernel7.img files to SD card
- Go to c:\Ultibo\Core\firmware\RPi3\ folder
- Copy armstub32-rpi3.bin, bootcode.bin, fixup.dat and start.elf to SD card
- Put that card into my Raspberry Pi 3B+ and power it up.
Three seconds later I saw “Hello World!” at a screen of my RPi 3.
This is pretty much 1:1 example from here, but I did it myself.
Full-screen console program
If you don’t like the idea of huge green border around your application or for security reasons you don’t want to communicate the name of the framework that you used for creating your app then the fix is very simple.
Summary
That would be all today when it comes to developing for Raspberry Pi with Ultibo. This is my first article about this framework, but hopefully not the last one, because Ultibo is just great!
It allows me to:
- Re-use my long forgotten knowledge of Delphi and Free Pascal
- Build a powerful, yet tiny-sized applications for Raspberry Pi (without need to learn Python, C or assembler)
- Create apps without need for underlying Linux system
- Code in perfectly prepared IDE where I need less than five minutes to get my first app (ready to deploy!)
I don’t know about you, but for me surely enough to fall in love!


