3.5 inch GPIO display and RPi
There are a lot of displays for Raspberry Pi. We can list them by image technology:
And by connection method:
There are a lot of arguments and parameters to consider when picking one that is best for you:
- DSI is the most expensive, but leaves both HDMI and GPIO port free
- HDMI is cheaper, but occupies one USB port (powering) and of course HDMI port
- GPIO is the cheapest solution, but occupies GPIO port which is not acceptable in most scenarios
I have decided to buy the last one because it was purely for testing purposes.
This article is following 3.5 inch touch screen for Raspberry Pi:
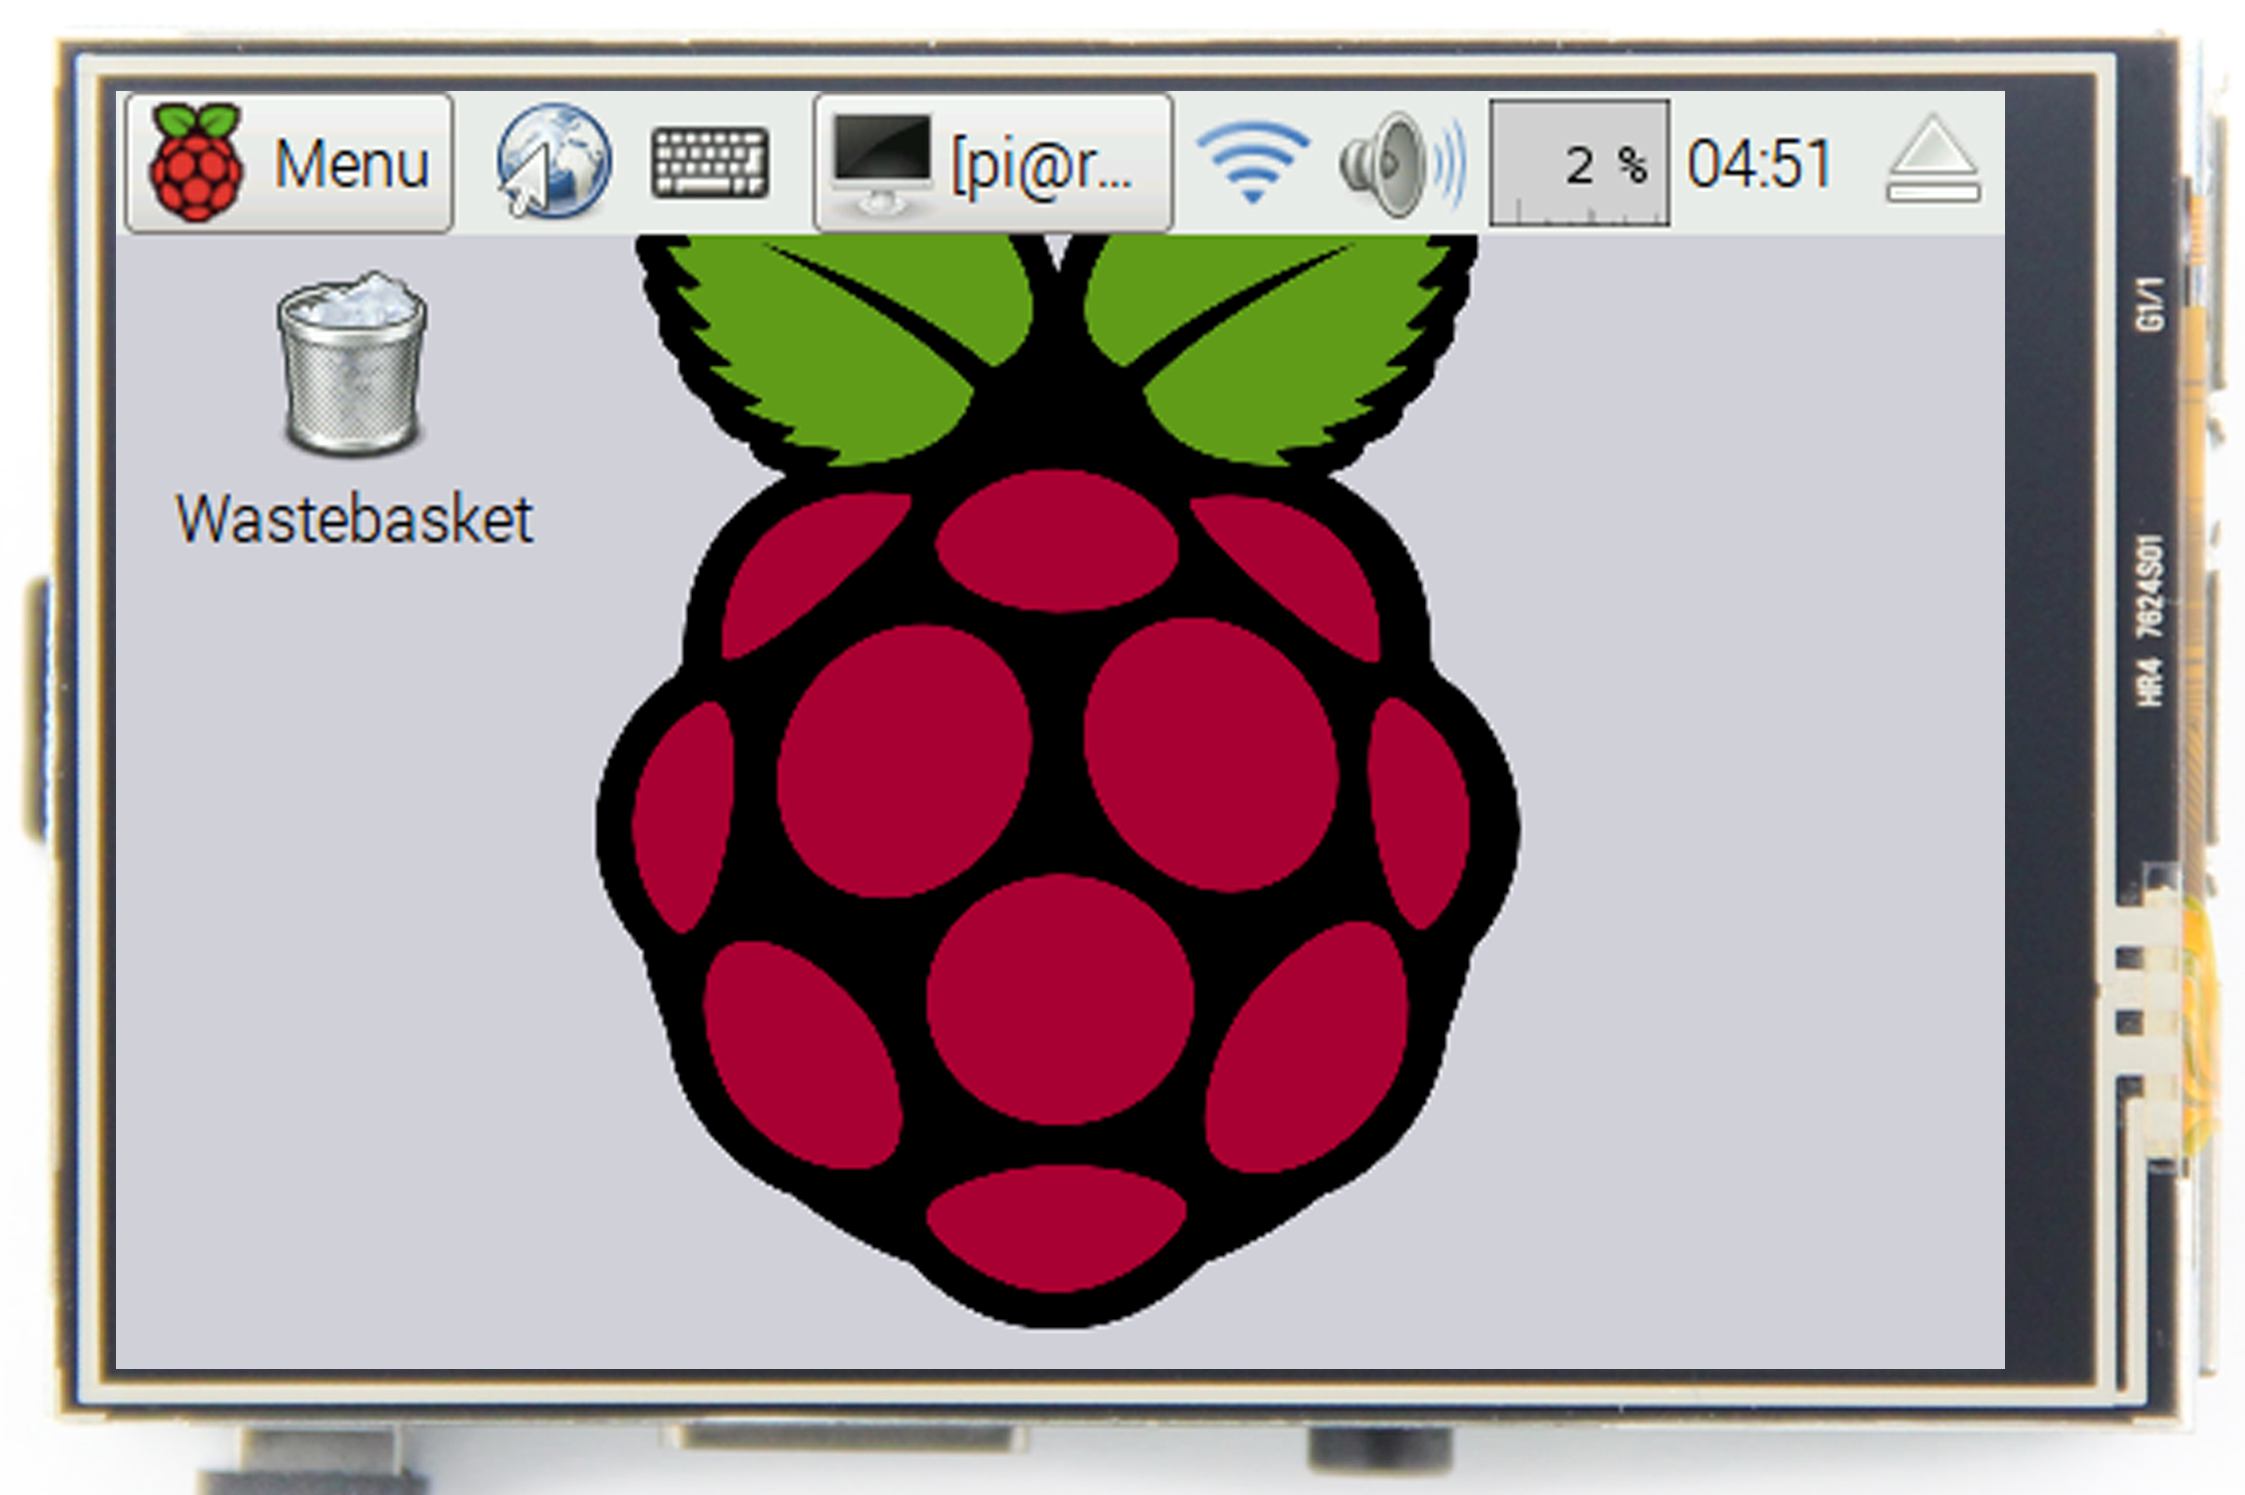
Things like drivers installation, screen calibration or screen rotation requires additional stuff being done via SSH and this article is about that.
Git
If on Flightradar24 or other very limited box where git is not installed then start with:
sudo apt-get install git
to install it.
Drivers
Then:
sudo rm -rf LCD-show
git clone https://github.com/goodtft/LCD-show.git
chmod -R 755 LCD-show
cd LCD-show/
sudo ./LCD35-show
If everything goes according to plan your RPi will be rebooted upon end of execution of above serie of commands. And again if everything goes according to plan you should be able to see your Raspberry Pi’s screen on your GPIO display after reboot.
Read more about this here.
Rotation
Default setting (after drivers installations — see above) is landscape orientation with GPIO-side at a top and HDMI / microUSB / mini-jack ports at the bottom.
You can change this anytime. Assuming that your drivers are already installed and working simply execute:
cd LCD-show/
sudo ./rotate.sh XX
where XX stands for:
sudo ./rotate.sh 0— HDMI / microUSB / mini-jack ports at screen’s bottom (default; see above)sudo ./rotate.sh 90— USB ports and RJ45 port at the bottomsudo ./rotate.sh 180— GPIO-side of cover at screen’s bottomsudo ./rotate.sh 270— micro SD card’s slot at the bottom
Each change is permanent and requires RPi reboot.
After each change / system restart you’re back in user folder and you must change to LCD-show folder with cd LCD-show/ again, before executing any of above.
Read more about this here.
Issues
If you shutdown your RPi with sudo shutdown now this particular screen will remain of and will be lightning with very bright white color all over the screen until you actually cut off the power. This is very unhandy, as for me. Wastes energy and reduces screen’s lifespan.
After driver installation, the 3.5 inch LCD screen becomes main one and any monitor attached to HDMI output becomes secondary. If you configure a screen timeout, it will turn off display at touch screen only. HDMI-attached monitor will still have everything visible. Another unhandy design flaw.
Fortunately, you can turn your HDMI display off by executing vcgencmd display_power 0 via SSH.
And again, if screen saver kicks in, it will only hide contents of the small screen. It will not power it off completely (like in case of HDMI-attached screen). You will still clearly see that LED diodes or LCD crystal are active and powered-up, only showing whole black color screen.
To bring screen back, press any key on keyboard.
If you have any auto-run program, script or command executed (like. Flightradar24 client) then it will be disabled (no auto-run during boot) and it won’t start automatically anymore after installation of drivers for this particular touch screen.
More stuff
Read more here, if you need ot calibrate your touch screen. Works with graphical desktop only.
For a regular usage installing a virtual screen keyboard may be necessary. Also works with graphical desktop only and not in the console. There is some kind of console made available, if you use any image with pre-installed driver. However it turns out to be completely unusable, because it allow to touch-insert letters only. No numbers, no symbols, no punctuation marks.
If you intend to use this setup for occasional monitoring only then you may consider setting a screen-time out and/or even manually turning off HDMI output.